
Lens care guide
How to clean microscope lenses safely
A hazy image does not always mean the objective is dirty. Locate the problem first, then clean only the exposed surfaces that actually need attention.
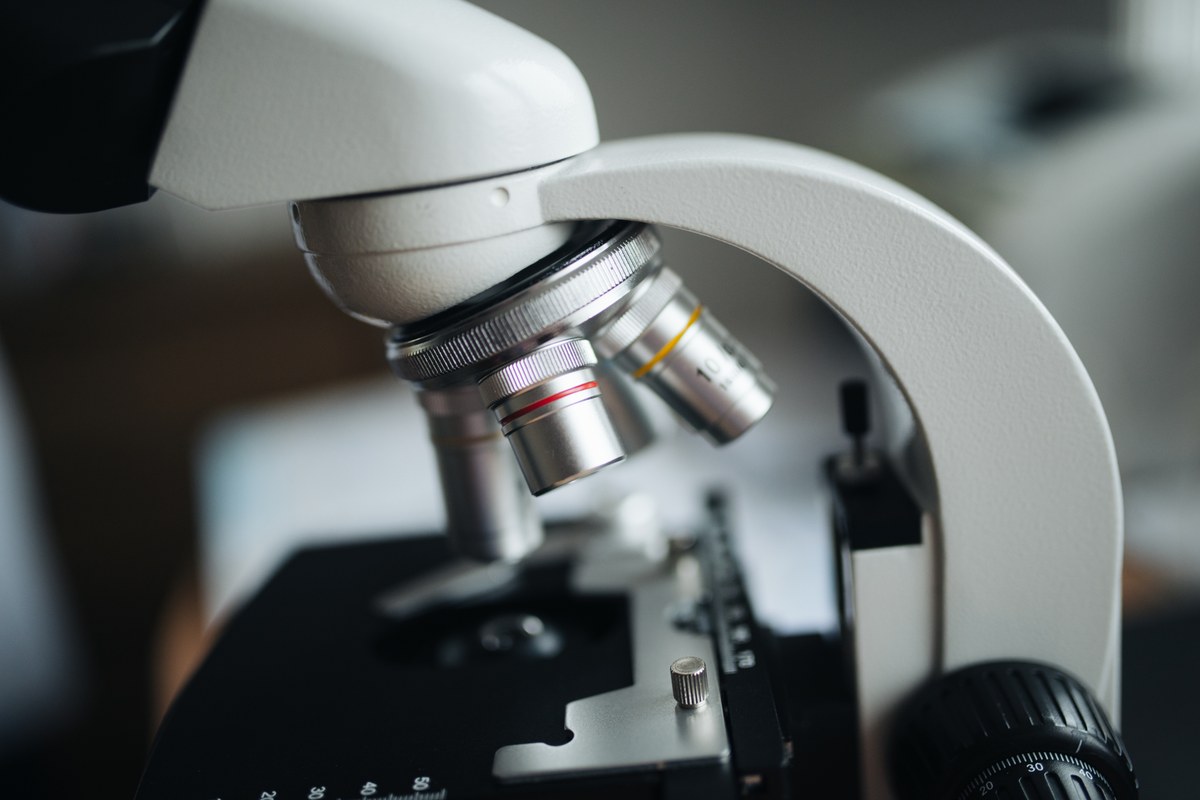
Decide what needs cleaning
The result of this guide is an inspected, safely cleaned exposed optical surface and a note about whether the distracting mark or haze disappeared. Cleaning cannot correct every image problem. A thick specimen, poor focus, unsuitable illumination, or a dirty slide may cause the same disappointment as a smudged lens.
Start with a clean, familiar slide at low power. Focus through the eyepiece, then gently move the slide. If the mark moves with the specimen, inspect the slide and cover slip first. ZEISS describes this movement test as a way to help locate dirt in the optical path. A spot that stays put may be on an eyepiece, objective, or another surface, but do not assume which one without looking. If a phone image alone has a spot, check the phone camera and adapter as well; the phone photography guide covers image setup.
Turn off the microscope and let any warm light source cool before touching the instrument. Remove the slide and move the stage away from the objectives. Inspect only surfaces you can normally reach without opening or disassembling the microscope. A hand blower, clean lens tissue, and the cleaning fluid specified by your microscope's instructions are enough for ordinary external care.
Remove loose dust before touching glass
Dust can scratch an optical coating if it is dragged across the lens. Evident's maintenance guidance therefore starts by removing loose particles with an air blower or suitable blower brush. Hold a manual squeeze blower near the exposed surface and give a few gentle puffs. Keep the tip from touching the glass. Do not blow with your mouth, which can leave moisture, or use a household towel to brush grit away.
Inspect the lens again under angled light. If the dust is gone and the view is clear, stop. Repeated wiping adds handling without improving the result. ZEISS also recommends routine dust removal and covering the microscope between sessions to limit future buildup.
If a mark remains, identify whether it is a fingerprint, dried liquid, or oil on an objective designed for immersion. The next step depends on the instrument and the substance. Follow the manufacturer's instructions for that lens, especially for specialized objectives or coated optics. If the instructions are unavailable and the residue is stubborn, contact product support rather than experimenting with a solvent.
Wipe only an accessible surface that needs it
For an ordinary external smudge, Evident recommends lens paper, a small amount of suitable lens-cleaning fluid, a gentle spiral from the center toward the edge, and fresh paper for each pass. The fluid belongs on the tissue, never poured or sprayed onto the lens. Use the smallest amount that moistens the wiping point without letting liquid run into a seam.
- Confirm that loose dust has been blown off and that the microscope is off.
- Fold a fresh lens tissue into a soft point or use the method specified by your instrument's instructions. Avoid a sharp fingernail behind the paper.
- If the instructions call for fluid, moisten the tissue lightly with the approved product. Do not substitute acetone, household glass cleaner, or an unverified solvent.
- Touch the exposed glass lightly and wipe from the center toward the outside in one controlled motion. Do not scrub back and forth or press hard.
- Discard that tissue. If another pass is needed, use a clean piece rather than carrying removed grit back over the surface.
- Let any remaining fluid evaporate as instructed, then inspect the reflection and the microscope view.
Consumer facial tissues, paper towels, and ordinary cotton swabs can shed fibers or abrade coated glass. ZEISS also warns against applying liquid directly to optics, using acetone near plastic, and opening complex components. This guide does not cover internal lenses, filters, or sensors. Keep those assembled and seek qualified service for internal contamination or persistent fogging.
Treat immersion oil as a separate case
Oil should be used only with an objective and procedure designed for it. If you used an oil-immersion objective, follow that objective's cleaning instructions promptly after the session; residue left to harden is harder to remove. Never put oil on a dry objective, and keep it away from neighboring dry lenses.
Evident and ZEISS both distinguish oil cleanup from routine dust removal, but their recommended fluids and methods depend on the system. Do not treat one brand's solvent recommendation as universal advice for another microscope. If oil has reached a dry objective or inside the nosepiece, stop and ask the manufacturer or a qualified technician how to proceed. Rubbing harder is not a repair method.
Check the result before putting the microscope away
Examine the exposed lens under a light from the side. It should not show loose particles, visible streaks, or pooled liquid. Then return to the same clean slide, objective, illumination, and focus conditions used before cleaning. If the original mark is gone, record which surface you cleaned and what worked. If it remains, revisit the slide, eyepiece, and camera path instead of repeatedly wiping the same objective.
| What you notice | Next check |
|---|---|
| Mark moves when the slide moves | Inspect the slide or cover slip |
| Haze appears only at higher power | Check focus, specimen thickness, and illumination before cleaning again |
| Dust remains on accessible glass | Use the blower, then fresh lens tissue if the manual permits |
| Fogging or dirt appears inside a component | Stop external cleaning and seek service |
The magnification guide explains why a high-power image can look soft even with clean lenses. A clear view at low power and a poor one at high power do not, by themselves, prove that the high-power lens is dirty.
Finish by removing the slide, switching off the illumination, and fitting the dust cover after the instrument is cool. Keep lens tissue clean and dry for the next session. If the microscope needs persistent internal work or a focus control drifts, use product support rather than opening the optics. The best outcome is a verified improvement with minimal contact, plus an honest note when cleaning was not the solution.
Sources
Explore Wevision microscopes
Find the right microscope for your next observation
Visit the Wevision web store to explore current microscope models for learning, laboratories, classrooms, and hands-on discovery.
Visit the Wevision web store