
Microplastics observation guide
Microplastics under a microscope
A light microscope can reveal a particle's size, color, and shape, but appearance alone usually cannot prove that the material is plastic.
Separate observation from identification
Can you see microplastics under a microscope? Some particles within the microplastic size range can be visible with ordinary light microscopy. Can you prove that an unknown particle is plastic from that view alone? Usually not.
The US Environmental Protection Agency defines microplastics for its research as plastic particles ranging from 5 millimeters down to 1 nanometer. That range spans objects visible without magnification and particles far below the resolving ability of an ordinary light microscope. The word describes both size and material, so a particle must not only be small; it must also be shown to be plastic.
A classroom or hobby microscope can support useful visual screening. It can help an observer count particles, describe shape and color, compare apparent sizes, and document where suspected particles occur on a filter. The scientifically careful label at this stage is suspected microplastic or potential microplastic, not confirmed microplastic.
Understand why the topic looks different in research news
Microscope images in a research headline may come from an instrument that works very differently from a student compound microscope. In June 2026, University College London reported a method for mapping microplastics inside living tissue using photoacoustic imaging. Pulsed laser light produced signals that were detected with ultrasound, allowing the researchers to use optical signatures from controlled plastic materials.
That achievement is an example of advanced analytical imaging, not a procedure that can be reproduced by placing tissue or household water on a brightfield slide. The distinction matters whenever a news image is used to set expectations for microplastics under a microscope.
Know what visual microscopy can record
Mississippi State University Extension's sampling guide groups visually sorted particles into broad forms:
- fibers: thin, thread-like particles;
- fragments: irregular pieces with varied edges;
- film: thin, flexible-looking pieces;
- beads or spheres: rounded particles.
An observer can also record color, apparent weathering, surface texture, and position on a gridded filter. If the system is calibrated with an appropriate reference, size can be measured. Without calibration, report a size category or comparison rather than deriving micrometers from a phone image.
A systematic row-by-row scan reduces the chance of overlooking part of a filter. Use the same magnification and lighting conditions when comparing samples. The principles in microscope magnification explained still apply: digital zoom and oversized magnification claims do not create new resolved detail.
These observations are valuable for sorting candidates and planning further analysis. They do not reveal molecular composition.
Recognize the false-positive problem
Environmental samples contain many materials that resemble plastic. Cotton and other cellulose fibers, hair, fungal material, plant tissue, shell fragments, paint, minerals, and airborne lint can all enter a sample. Clear, white, brown, and black particles are especially difficult to classify visually because color supplies little distinguishing information.
A multi-laboratory assessment published in Environmental Science and Pollution Research tested visual microscopy using blind water samples containing known plastics and natural look-alikes. It found that performance depended strongly on particle size and that smaller particles were particularly difficult to recover and classify. The paper describes microscopy as a common first step that is generally followed by spectroscopy for material confirmation.
This means a colorful, uniform fiber may be worth recording as a candidate, but appearance is not proof. Likewise, a natural-looking fragment may still be synthetic. Observer confidence should not replace analytical evidence.
Match the microscope to the sample format
The best instrument depends on where the particles are located.
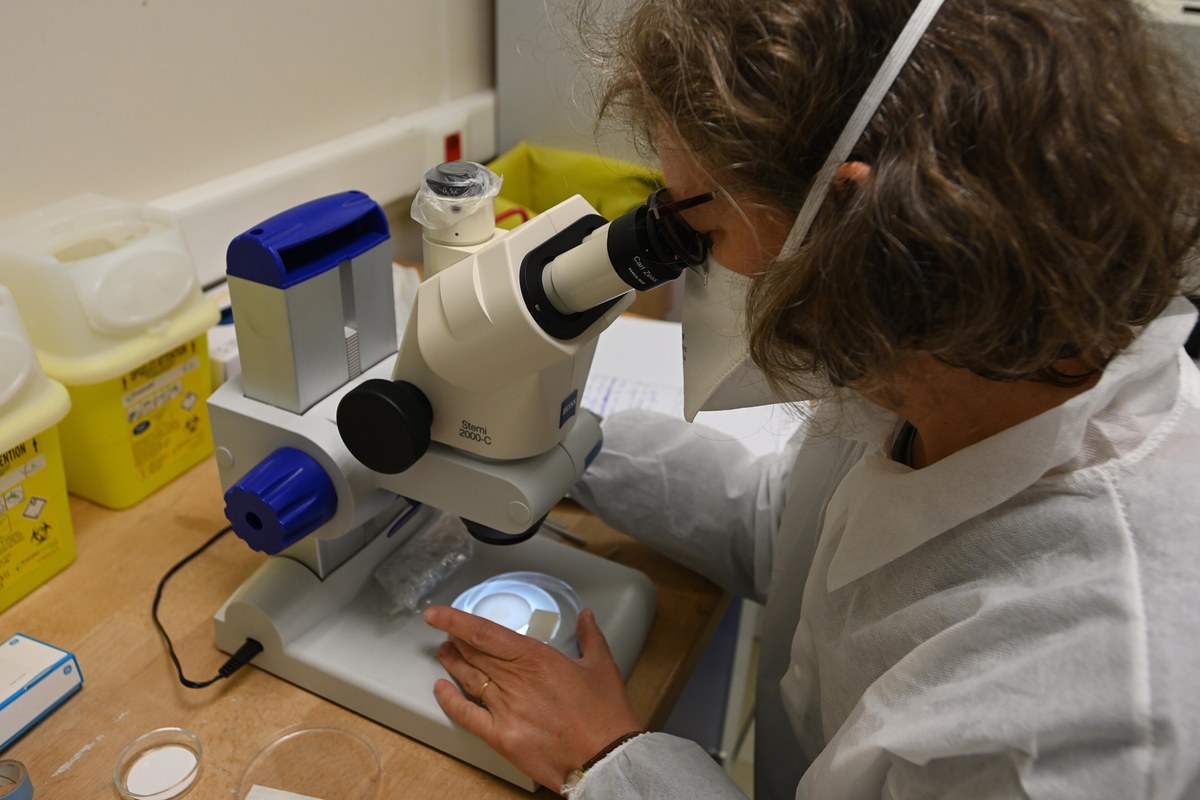
A stereo or dissecting microscope with reflected light and generous working distance is often practical for scanning a filter, manipulating larger particles, and viewing opaque material. Mississippi State's guide uses a dissecting microscope and notes that top lighting works best for its filtered samples.
A compound microscope is designed mainly for thin specimens viewed with transmitted light. It can examine small particles mounted on a slide or on a suitably transparent support, but an opaque or thick filter may block the light. High-power compound objectives also cover a very small field, making an entire filter slow to scan.
Before choosing equipment, decide whether the task is broad sorting, detailed imaging of a selected particle, or chemical identification. The compound microscope buyer's guide explains how specimen type, illumination, working distance, stage controls, and optics affect that decision. The Wevision comparison page lists the current models' documented features, but neither model should be represented as a polymer-identification instrument.
Use a controlled visual-screening workflow
For an educator-led activity, begin with a prepared filter or sample produced under an established protocol. Environmental sampling and filtration require more controls than collecting an arbitrary bottle of water.
The observation workflow can be kept simple:
- Label the sample and record its origin, preparation method, date, and filter type.
- Keep the sample covered except while observing it.
- Start at the lowest useful magnification and establish even illumination.
- Scan in adjacent rows so the whole observation area is covered once.
- Record every candidate using neutral categories such as fiber, fragment, film, or sphere.
- Photograph representative candidates and obvious natural look-alikes.
- Report the result as a count of suspected particles unless chemical confirmation is available.
Do not manufacture a sample by sanding, grinding, heating, or burning plastic. Those actions can create inhalable particles or fumes and do not improve the scientific value of the exercise. Avoid “hot needle” tests; they are destructive, present a burn and fume hazard, and still do not provide reliable polymer identification.
Unknown environmental water should not be treated as sterile. Keep it away from food, do not touch the face during the activity, protect the work surface, follow classroom disposal rules, and wash hands afterward. This observation cannot determine whether water is safe to drink or whether exposure poses a health risk.
Control contamination before counting
Microfibers are common in indoor air and clothing, so contamination can occur during collection, filtration, storage, or observation. A study can produce a precise count of material that fell into the sample after collection unless blanks and handling controls are used.
Useful precautions include:
- clean and cover containers before use;
- minimize the time filters are exposed to room air;
- use clean forceps rather than touching the filter;
- run a procedural blank through the same steps without the environmental sample;
- record the observer, room, clothing, and unusual contamination events;
- apply the same inclusion rules to the sample and the blank.
A blank does not make a casual activity equivalent to a validated research method, but it demonstrates why method documentation matters. If similar fibers appear in both the blank and environmental sample, the environmental count needs cautious interpretation.
Understand how laboratories confirm plastic
Laboratories commonly use techniques that measure a material's chemical or spectroscopic signature. Fourier transform infrared spectroscopy, usually shortened to FTIR, can compare infrared absorption patterns with reference polymers. Raman spectroscopy measures characteristic shifts in scattered laser light. Other methods analyze how material behaves when heated or combine microscopy with specialized imaging and automated classification.
Each method has detection limits, interferences, preparation requirements, and quality-control needs. Even advanced techniques are not magic labels; researchers must use appropriate reference libraries, thresholds, blanks, and reporting standards.
The important boundary is straightforward:
| Result | Appropriate statement |
|---|---|
| Particle seen with ordinary light microscopy | “A particle was observed” |
| Shape and color match visual criteria | “A suspected microplastic was recorded” |
| Validated chemical method supports a polymer match | “The particle was identified as a specified polymer,” with the method reported |
Make uncertainty part of the lesson
Observing suspected microplastics can teach microscopy, environmental sampling, classification, and experimental controls at the same time. Its strongest lesson may be that seeing is not always identifying.
Use a light microscope to document visible evidence carefully, compare candidates with look-alikes, and explain how contamination could affect the result. Reserve a definitive plastic claim for an appropriate chemical method. That language does not weaken the observation; it makes the conclusion match what the instrument actually measured.
Sources
Explore Wevision microscopes
Find the right microscope for your next observation
Visit the Wevision web store to explore current microscope models for learning, laboratories, classrooms, and hands-on discovery.
Visit the Wevision web store