
Student microscope buying guide
How to choose a microscope for students
A useful student microscope should be approachable on the first day and capable enough to support more demanding observations as skills grow.
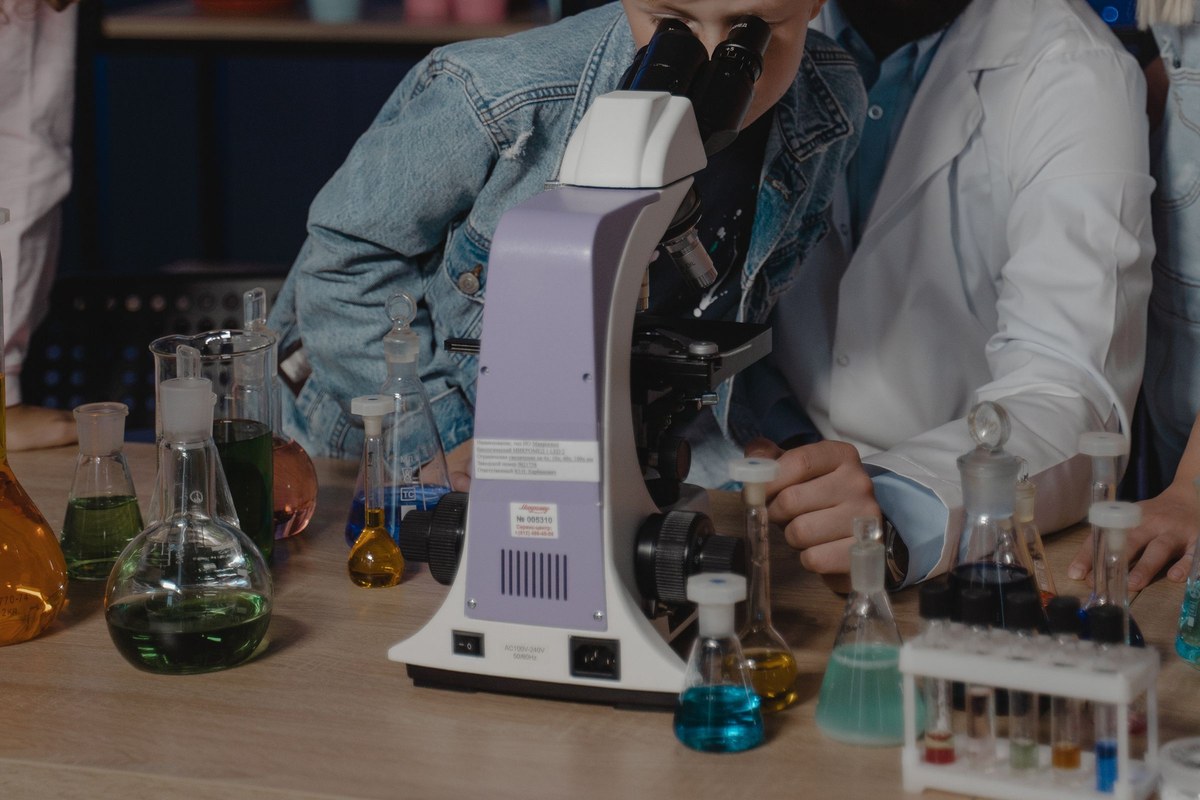
Start with the student, not the largest number
The right microscope for a student depends on who will use it, where it will be used, and what will go on the stage. A beginner exploring prepared slides at home needs controls that are easy to learn. A student doing regular coursework may value precise slide movement and comfortable viewing during longer sessions. A family sharing one microscope may care about portability, included supplies, and an easy way to capture observations.
Before comparing magnification claims, answer four questions:
- Will the student mainly view thin, prepared slides or larger opaque objects?
- Will the microscope stay on one desk or move between rooms and classes?
- Will sessions be occasional and short or frequent and extended?
- Does the student need a ready-to-use kit, or do they already have slides and preparation tools?
These answers narrow the choice faster than a long feature list.
Choose the microscope type for the samples
A compound light microscope is designed for small, thin specimens that transmitted light can pass through. Common learning activities include examining prepared tissue slides, plant cells, fibers, and water samples placed on slides. The objective forms a magnified image, the eyepiece enlarges it again, and the illumination system directs light through the specimen.
A stereo microscope serves a different purpose. It is generally better suited to larger, three-dimensional objects such as insects, rocks, circuit boards, or leaves viewed at lower magnification. If the student’s goal is slide-based biology, a compound microscope is the more relevant category. If the goal is dissection or surface inspection, compare stereo microscopes instead.
Decide between monocular and binocular viewing
A monocular microscope has one viewing tube. Its simple setup can be friendly for a new user, and it is easy for several people to take turns at the same instrument. It can be a practical fit for home learning, demonstrations, and shorter sessions.
A binocular microscope lets the user observe with both eyes. This can feel more natural during longer sessions, but the eyepiece spacing and diopter settings must be adjusted for the individual user. Binocular viewing does not automatically create more magnification or detail; its main advantage is the viewing experience.
For a first purchase, ask whether simplicity or extended viewing comfort matters more. Neither format is universally better.
Look for controls that build good technique
Student success often depends on how easily the microscope can be focused and how predictably the slide can be moved. Coarse focus helps locate the image at low power, while fine focus makes small adjustments that become more important as objective power increases.
A basic stage can work for prepared slides and occasional exploration. A mechanical X-Y stage moves the slide in controlled horizontal directions, making it easier to scan a specimen systematically and return to an area of interest. For frequent coursework, that control may matter more than an extra eyepiece or an unusually large magnification claim.
The safest learning sequence is to begin with the lowest-power objective, center the specimen, focus, and then move upward one objective at a time. Never force a focus control or let an objective strike the slide. If the image disappears, return to low power, re-center, and focus again.
Treat magnification as a system
Total magnification equals eyepiece magnification multiplied by objective magnification. A 10X eyepiece with a 4X objective provides 40X total magnification; the same eyepiece with a 40X objective provides 400X.
The bigger number is not always the better view. Resolution is the ability to distinguish nearby details, and it depends on the optical system, numerical aperture, illumination, specimen preparation, contrast, and focus. Nikon’s microscopy guidance explains that magnification beyond the useful range enlarges the image without adding finer resolved detail. This is often called empty magnification.
For a student, a useful progression of objectives and controllable focus is more valuable than choosing by the maximum printed power alone. See microscope magnification explained for the formula, examples, and a step-by-step focusing workflow.
Consider lighting, power, and what is included
Consistent illumination makes it easier to find and compare specimens. Also consider where the microscope will be used. Corded power fits a permanent desk, while a battery option can help when a convenient outlet is unavailable.
Included accessories affect how soon the student can begin. Prepared and blank slides, cover slips, a dropper, tweezers, lens tissues, and sample materials can turn a microscope into a usable learning kit instead of a separate shopping list. A carrying case helps protect and organize equipment when it moves between locations.
A smartphone adapter can support learning by letting students capture an observation, compare it later, or share it with a teacher or family member. Phone alignment still takes practice, and a captured image depends on the phone, adapter position, focus, illumination, and specimen. Treat phone capture as a documentation feature rather than a substitute for the optical view.
Compare the Wevision M2 and M1 for student use
Both current Wevision models are compound microscopes, but they support different stages of the learning path.
| Decision point | Wevision M2 | Wevision M1 |
|---|---|---|
| Viewing style | Monocular | Binocular |
| Intended users | Students, adults, families, classrooms, and hobbyists | Advanced students, laboratories, and experienced users |
| Objective set | 4X, 10X, and 40X objectives, plus a 2X additional lens | 4X, 10X, 40X, and 100X achromatic objectives |
| Stage and focus | Straightforward student setup | Mechanical X-Y stage and coaxial coarse and fine focus |
| Illumination | Dual LED; cord or battery power | Even LED illumination with an Abbe condenser |
| Documentation | Smartphone adapter included | No included smartphone adapter listed |
| Kit emphasis | Slides, tools, experiment supplies, lens tissues, and a hard case | Slides, immersion oil, lens care supplies, and a carrying case |
The Wevision M2 is the more natural starting point when the priorities are straightforward monocular viewing, portability, phone capture, and a broad starter kit. Its all-metal frame, dual LED illumination, cord-or-battery power, and included supplies suit learners who want to begin experimenting without assembling every accessory separately.
The Wevision M1 is designed for advanced students and more demanding routines. Its binocular head, four achromatic objectives, Abbe condenser, double-layer mechanical X-Y stage, coaxial focus, and independent eyepiece diopters provide more control for frequent observation. The 100X objective is intended for an appropriate oil-immersion procedure; follow the product instructions and keep oil away from dry objectives.
Review both models on the Wevision microscope comparison page, or use the broader compound microscope buyer’s guide to compare viewing heads, stages, focus, lighting, and accessories.
Use this final buying checklist
Before choosing a microscope for a student, confirm that:
- the microscope type matches the specimens the student wants to view;
- the viewing head fits the expected session length and user experience;
- the focus and stage controls suit the level of coursework;
- the objective progression supports learning from low to higher power;
- illumination and power options fit the place it will be used;
- essential slides, tools, cleaning materials, and storage are included or budgeted;
- documentation features, such as a smartphone adapter, match the student’s assignments;
- the student can get setup and care help when needed.
A well-matched microscope reduces early frustration and gives the student room to improve. Choose the instrument around real samples and habits first; magnification, accessories, and advanced controls can then support a clear purpose.
Sources
Explore Wevision microscopes
Find the right microscope for your next observation
Visit the Wevision web store to explore current microscope models for learning, laboratories, classrooms, and hands-on discovery.
Visit the Wevision web store