
Beginner slide preparation guide
How to prepare a microscope slide: wet mount vs. dry mount
A clear microscope image often starts with a smaller, thinner sample. Choosing the right mount helps you keep the specimen flat, visible, and easy to find.
Choose the result before the specimen
This guide leads to two simple preparations: a dry mount of a few textile fibers and a wet mount of thin onion tissue. For each, you will locate the sample, find a readable region, and record whether the preparation worked.
Both methods suit small specimens on an upright compound microscope, where light usually passes through the slide from below. Carolina Biological Supply emphasizes that a specimen must be thin enough to transmit that light. A large piece of material can block the view even when it fits on the stage.
A dry mount places the specimen on the slide without added liquid. A wet mount adds liquid around the specimen under a coverslip. Neither method guarantees a clear image if the sample is too thick.
| Specimen and goal | Starting method | Main preparation check |
|---|---|---|
| A few clean, separated textile fibers | Dry mount | Fibers lie flat rather than forming a bundle |
| A thin onion peel that should stay moist | Water wet mount | Tissue is unfolded and covered by water |
| A prepared liquid sample, such as yeast suspension | Wet mount using the sample itself | The drop is small and not crowded |
Gather supplies and check the glass
Use clean microscope slides, suitable coverslips, a dropper, water, forceps, a pencil or slide-label marker, tissue for spills, and a compound microscope. Prepare a few clean fibers and an onion layer cut by an adult. No stain, flame, or permanent mounting chemical is needed for these examples.
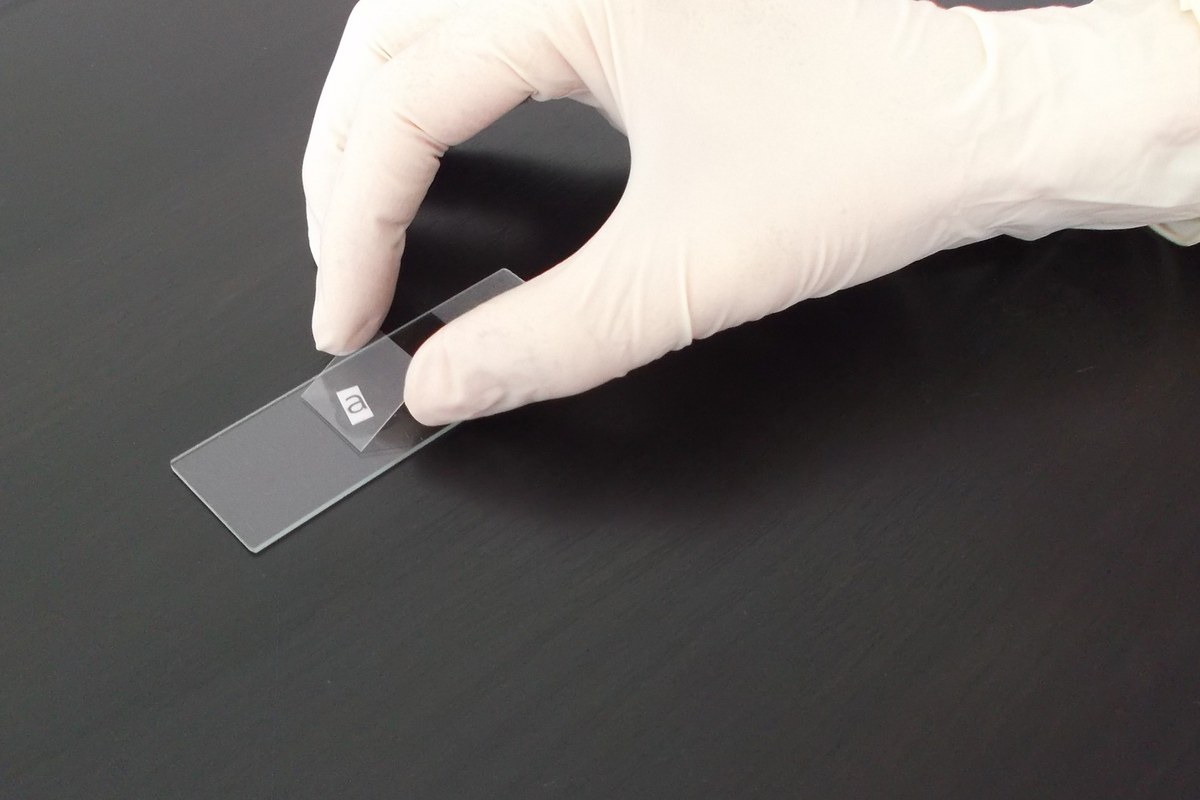
The slide supports the specimen. The much thinner coverslip rests over it. Handle both by their edges and check for chips or cracks before use. Children need adult supervision with glass and tools. Do not substitute a second thick slide for a coverslip or press glass onto a bulky sample.
Follow the instrument's instructions for coverslip thickness. ZEISS notes that many objectives are designed for a 0.17-millimeter cover glass. The University of Queensland also explains that coverslips should match the objective. Those examples do not mean every instrument requires exactly the same glass. Check your manual or the objective's markings before buying replacements.
Label the slide near one end before mounting. Include the sample name and whether it is dry or wet. Keep the label outside the viewing area and away from the stage's light opening.
Prepare a dry mount with separated fibers
Start with a few loose fibers from a clean cotton thread. A whole knot or tightly twisted thread is harder to inspect because several layers overlap.
- Set the clean slide on a stable surface.
- Use forceps to place a few short fibers near its center.
- Separate them so that some sections lie alone rather than crossing.
- Lower a clean coverslip gently over the sample without adding water.
- Check from the side that the cover rests normally. If the fibers hold it high, use fewer fibers and remake the mount.
Begin viewing at low power. Find an isolated fiber and follow its outline. Your first result is a drawing of one readable section, with a note about whether neighboring fibers overlap it.
This method records the material in air. Adding water later changes the preparation, so label it as a separate comparison. Do not assume every dry object is suitable: thick seeds, bark, or large grains can require a different microscope or preparation.
Prepare a small water wet mount
For this example, use a small, nearly transparent peel from the inside of an onion layer. Remove attached thick flesh and unfold the peel. The onion-cell guide explains how to select that tissue and interpret the cell pattern.
Put one small drop of water near the center of a second slide. Transfer the peel into it and spread it flat with forceps. Keep the specimen comfortably within the area that the coverslip will cover.
Hold the coverslip by its edges at about a 45-degree angle. Touch one edge to the drop, then lower the rest slowly. This gives the liquid a chance to spread while air escapes. ATCC and Hillsborough's teaching instructions describe this angled placement to reduce trapped bubbles.
Let the coverslip settle under its own weight. Do not press down to flatten thick tissue or force out a bubble. If the preparation is folded or a large bubble blocks it, remake a smaller mount.
Remove liquid outside the coverslip with tissue and keep the slide's underside dry. Avoid drawing away so much water that the specimen dries. For a liquid specimen, use a small drop of that sample instead of automatically adding more water. The baker's yeast guide gives a practical example.
Check the mount before raising magnification
Place the slide on the stage with the coverslip facing the objectives. Start with the lowest-power objective and follow the microscope's focusing instructions. Center the sample over the light opening.
Find a recognizable edge or pattern at low power. Then center the feature before moving to a higher-power objective. With a 10X eyepiece, 4X, 10X, and 40X objectives give 40X, 100X, and 400X total magnification. The magnification guide explains that calculation and the focusing sequence.
Use fine focus at 40X. Check clearance from the side when changing objectives. Never force a focus control or allow an objective to strike the slide. These examples do not need immersion oil.
Focus through nearby layers slowly. Nikon's depth-of-field explanation shows why only a thin range of specimen depth appears sharp at once. If one fiber sharpens while another becomes blurred, they may be at different heights. It does not necessarily mean the lens is dirty.
Fix one preparation problem at a time
| Problem | Practical response |
|---|---|
| Wet tissue looks like dark overlapping sheets | Use a smaller, unfolded peel |
| Dry fibers form a dark bundle | Separate fewer fibers on a fresh slide |
| Large round spaces with strong rims interrupt the wet sample | Remake the mount with slower coverslip placement |
| Water reaches the slide edges or stage | Remove the slide and dry the spill before continuing |
| The coverslip sits high or rocks | Replace the mount with a thinner specimen |
| The wet sample dries during observation | End the observation and make a fresh mount |
Treat these as checks, not certain diagnoses from one image. Note what changed and whether it improved the view. Stop if glass cracks or the objective has touched the preparation.
Record the result and finish cleanly
For each slide, write the specimen, mount type, eyepiece and objective powers, and one visible feature. Add a sketch and a preparation note, such as "single fibers separated" or "flat onion peel with one bubble outside the drawn region."
Use the same checklist for the next specimen: thin material, a suitable coverslip, controlled liquid if needed, dry slide underside, low-power location, and a clear record. A mount can meet that goal without making every part of the field sharp at once.
Temporary water mounts are not permanent stored slides. Remove them after the session and follow classroom instructions for cleaning and disposal. Separate reusable glass only as instructed, place broken glass in a designated sharps container, clean the work area, and wash your hands. You should finish with two labeled observations and a method you can repeat.
Sources
- Carolina Biological Supply: How to Make Microscope Slides for Science Fair Projects
- ATCC: Introduction to Microbiology, Wet Mount
- Hillsborough College: Lab 5, Microscopy and Cells
- ZEISS: Microscope Cover Glasses
- University of Queensland: Coverslip Selection
- Nikon MicroscopyU: Depth of Field and Depth of Focus
Explore Wevision microscopes
Find the right microscope for your next observation
Visit the Wevision web store to explore current microscope models for learning, laboratories, classrooms, and hands-on discovery.
Visit the Wevision web store