
Paper fiber observation guide
Paper fibers under a microscope: compare copy paper and tissue
A torn edge exposes fibers that are hard to see on the flat surface of a sheet. Compare two familiar papers under the same microscope settings to see how their fibers are arranged.
Set up a comparison you can repeat
Find the thin strands that extend past the torn edges of white copy paper and white tissue. Draw or photograph one clear view of each paper. Record whether the strands cross, form groups, or leave visible gaps. Then make a new tear in each sheet and check whether your first observations also apply to the new edges.
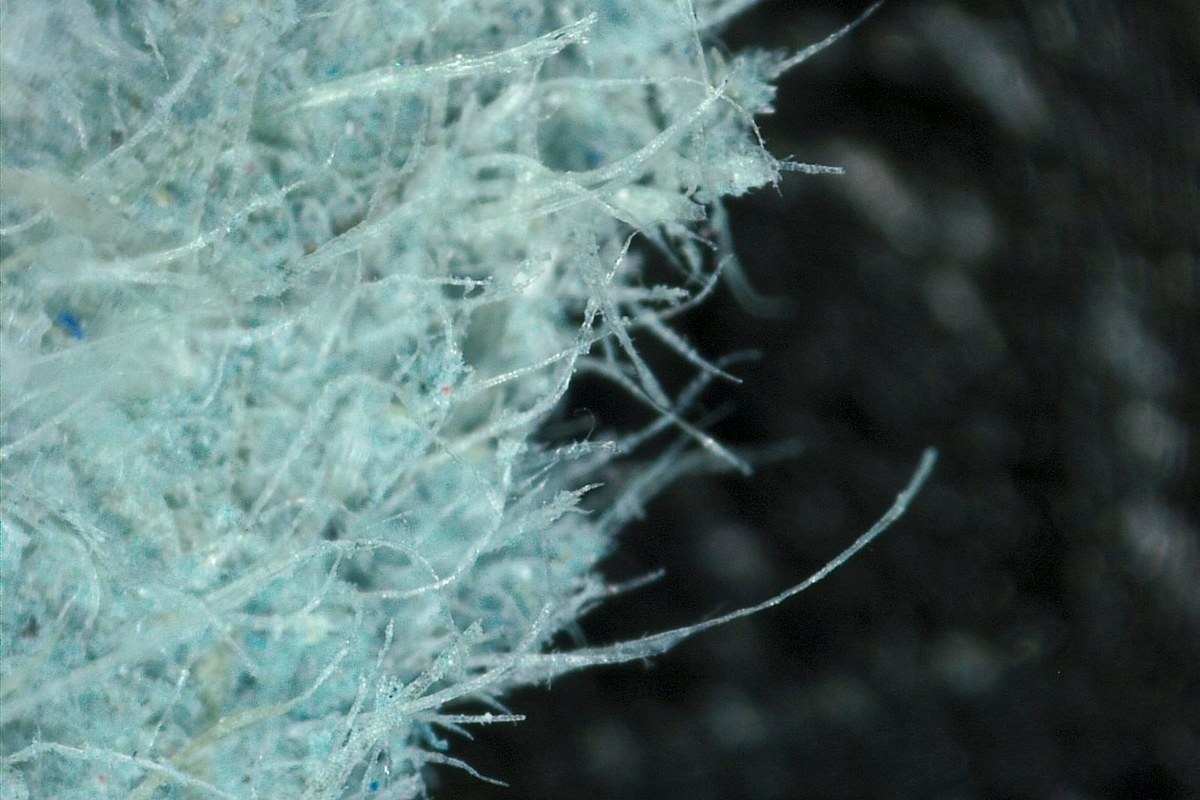
Paper is made from a mat of fibers. Cellulose, a material in plant cell walls, makes up much of the fiber in ordinary paper. The fibers lie across and beside one another. Their arrangement can affect how the sheet feels and tears. The photo above shows a blue paper fragment. In this activity, the samples are white so that you can compare their edges without printed ink or colored patterns.
Make two dry slides
Put a sheet of unprinted copy paper and a plain tissue on a clean work surface. Use two clean slides, two coverslips, tweezers, and a compound microscope with a light below the stage. Keep a notebook nearby. For a tissue with several layers, separate one layer before you make the slide. Record which layer you used.
- Label one slide Copy paper and the other Tissue.
- Tear a small piece from an unprinted area of each sheet. Make each piece small enough to fit under a coverslip.
- Place each piece flat on its own slide. Use tweezers to keep your fingers away from the torn edge.
- Lower a coverslip over each piece. Use a smaller piece if it folds or makes the coverslip tilt.
- Leave the samples dry for the first comparison. If you need help securing the paper, follow the dry-mount steps in the slide preparation guide.
Record the direction of each tear relative to the sheet edges. Paper can tear differently in different directions. Match the first tear when you prepare a second slide from the same paper.
Focus on the torn edge
Start with the lowest-power objective. Set the slide so that the microscope light passes through the torn edge and through the clear space beside it. Find the place where the sheet ends. Move along the edge until you can see a few strands that extend into the clear space.
If the center of the paper looks dark, move farther toward the edge. The light passes more easily through the thin part. Adjust the light until you can see both the strands and the gaps between them. Keep the same light setting for both samples if it gives a clear view of each. Record any change so you can account for it when you compare the drawings.
Use a 10X objective for a closer look if your microscope has one. Center the edge first. Check the gap between the lens and coverslip from the side, and follow the microscope instructions for focusing. Keep the lens clear of the glass. A 10X objective with a 10X eyepiece gives 100X total magnification. The magnification guide explains how to work out the total for your setup.
If a line looks like a fiber, follow it from the sheet into the clear space. A crease in the paper usually stays within the sheet. Move the slide a small distance to check a mark in the clear space. An attached fiber moves with the torn edge. If you cannot trace the mark back to the edge, leave it out of your drawing.
Draw the same features for both samples
Use one objective and eyepiece combination for both drawings. Look where the solid sheet meets the clear space. Compare three nearby views along each edge. An area visible through the eyepiece at one time is called a field of view.
| Feature | What to record |
|---|---|
| Fiber outline | Straight, curved, or difficult to follow |
| Fiber arrangement | Separate strands, groups, or crossed strands |
| Gaps | Where clear spaces are visible between strands |
| Changes along the edge | Which features appear in more than one field |
| Settings | Objective, eyepiece, and any change in light |
Sketch the edge line first. Draw several strands that you can follow and mark the places where they cross. Record the sample name beside each drawing. If you use a phone, the microscope photography guide explains how to align the camera. Keep the original photos so you can review the same field.
A strand can disappear into the sheet or end outside the field. Describe how far the visible part extends or where it goes out of sight. You need to see both ends to compare the full length of a fiber.
Check a second torn edge
Make a fresh slide from each paper. Inspect three more fields per type with the same power and light. Record whether you see the same patterns. For example, if you saw more clear gaps in the first tissue sample, note whether you saw more gaps in the second tissue sample as well. Write down results that vary along an edge.
If the field is hard to read, return to the lowest power and look for a thinner edge. If both samples look similar, describe the features they share. Use your notes to say what you observed in these two papers. A basic view of the torn edges gives too little information to identify the plant source or measure the amount of recycled material.
Keep two labeled drawings or photos and one sentence that describes what you saw again in the second pair. Remove the samples and clean the slides before putting them away.
Sources
Explore Wevision microscopes
Find the right microscope for your next observation
Visit the Wevision web store to explore current microscope models for learning, laboratories, classrooms, and hands-on discovery.
Visit the Wevision web store