
Image troubleshooting guide
How to fix a blurry microscope image
A blurry view can have several causes. Start with a slide that worked before, change one setting at a time, and test the same feature after each change.
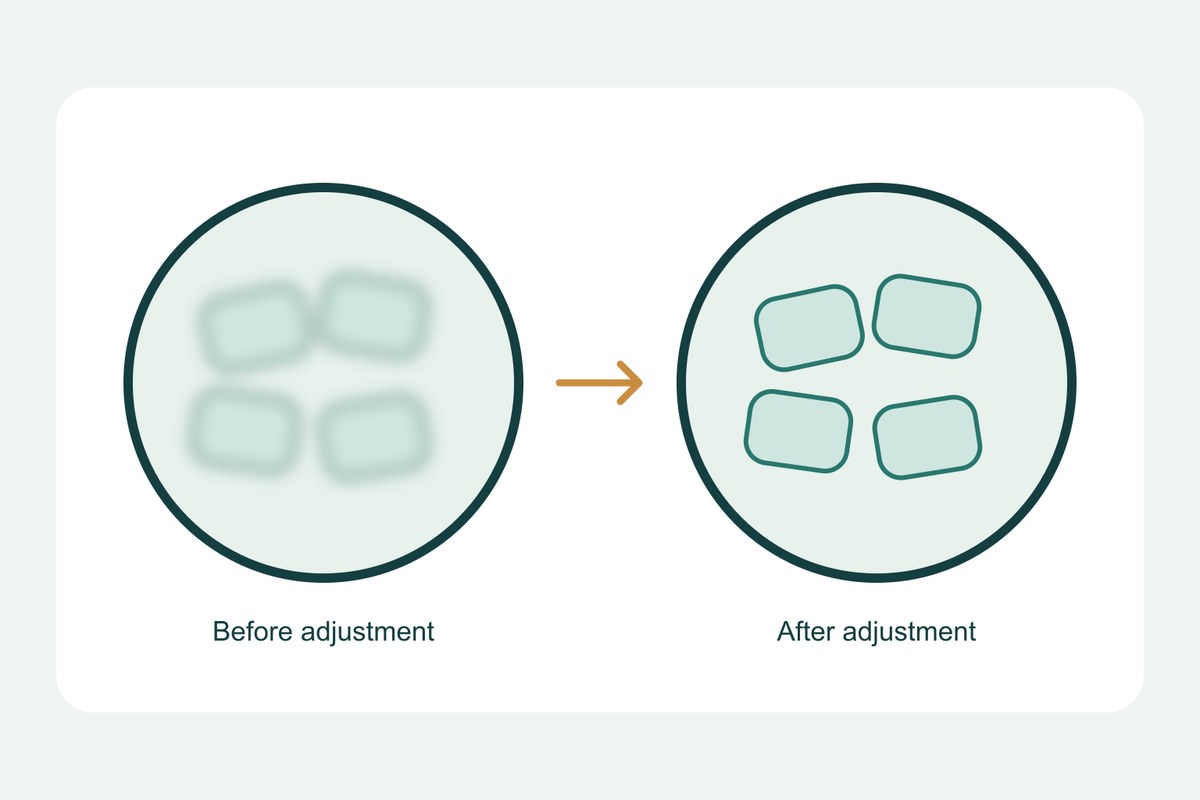
Start with a test you can repeat
This guide is for a compound microscope that sends light upward through a thin slide. The goal is a clear view of a selected feature. If the checks do not restore it, the result is a short report that helps support staff find the fault.
Gather the microscope instructions, a familiar prepared slide, your problem slide, and a notebook. Use a prepared slide that previously gave a clear view. A new sample with unknown detail is a poor test of the equipment.
Remove the phone adapter for the first check. Select a dry, low-power objective. An objective is the lens above the slide. Keep oil out of this initial test.
Write down the objective, eyepiece, slide, and symptom. Is the whole field soft, one area hazy, or only the camera image blurred? These differences help you choose the next check.
1. Restore the basic viewing setup
Place the microscope on a stable surface. Check that the slide sits flat and the selected objective is fully in its normal viewing position. Use the transmitted light source below the slide.
Follow the model's instructions to focus at low power. Watch the gap between the objective and slide from the side when positioning them. Never force a control or let the objective touch the slide.
Find a distinct edge in the prepared specimen. Center that edge and adjust focus slowly. If the microscope has two eyepieces, set their spacing and individual focus adjustments as the manual directs. Both eyes should have a comfortable view.
If the feature becomes clear, record the setting that helped. Return to the problem slide at the same power. Do not change the lighting, specimen, and objective together, because you will lose the comparison.
2. Separate a slide problem from an equipment problem
Compare the two slides at the same objective. A clear prepared slide and a blurred homemade slide suggest a preparation problem. This result does not prove that every part of the microscope is correctly adjusted.
Look for a thick sample, folded tissue, excess liquid, or an uneven coverslip. A coverslip is the thin glass placed over the specimen. Different depths in a thick specimen cannot all be sharp at one focus setting.
Make a fresh, thinner mount if needed. Do not press on the coverslip to flatten the sample. Use the slide preparation guide to remake it.
Record whether the fresh mount improves the same type of feature. Leica's optics guide recommends checking settings, the specimen, and slide surfaces before treating the microscope itself as dirty.
3. Check light and contrast
Contrast is the visible difference between a feature and its background. A pale specimen can be in focus but difficult to see.
Set the lamp to a comfortable brightness. If fitted, adjust the condenser aperture diaphragm gradually. This control changes the light cone that reaches the specimen. It is not simply a brightness control.
Observe one edge while adjusting it. Avoid closing the aperture until thick artificial borders replace fine detail. Use the lamp control to adjust brightness. Follow the manual for condenser position and alignment.
Idaho State University's microscope instructions explain that illumination settings affect both contrast and resolution. Resolution is the ability to distinguish nearby details. A darker outline alone does not prove that resolution improved.
4. Test the next objective
Center the feature before increasing power. Check the clearance from the side, then use fine focus at higher power. If you lose the feature, return to low power and locate it again.
Compare two observations: does the feature become larger, and does additional detail become clear? More magnification can enlarge existing blur. Nikon's useful magnification guide explains why enlargement eventually adds no new detail.
If only one objective gives a poor view, record its full markings. Check the required coverslip and immersion conditions in the manual. Evident's troubleshooting guide identifies unsuitable coverslip thickness and incorrect optical settings as possible causes of unsharp images.
Do not add oil because an image looks blurred. Use it only with an objective designed for that medium, as instructed. Keep oil away from dry objectives. Leica's immersion guidance explains that oil can damage components that are not suitable for immersion.
5. Inspect exposed surfaces only when needed
If both slides remain hazy, inspect the slide surfaces and accessible optics under a light. Do not remove lens assemblies or open the microscope head.
Use the lens cleaning guide if you find contamination. Use only materials and cleaning methods approved for the instrument. Repeated wiping is not a useful test when you have not found dirt.
After cleaning, return to the same prepared slide, objective, and feature. Record whether the haze changed. If it did not, stop cleaning and continue the comparison.
6. Check the camera separately
Attach the camera only after the eyepiece view is clear. Keep the specimen and objective unchanged. Support the phone securely and align its active lens with the eyepiece.
Take one image without touching the setup during capture. Compare it with the eyepiece view. If only the photograph is soft, use the phone photography guide to check alignment, camera focus, exposure, and movement.
Record the result before you finish
Use a short log to make each test useful:
| Test | Result to record | Next step |
|---|---|---|
| Familiar slide at low power | Clear or blurred feature | Keep the setting or check the setup |
| Problem slide at the same power | Better, unchanged, or worse | Remake the mount if needed |
| Next dry objective | Detail gained or lost | Check focus and objective requirements |
| Camera attached | Difference from eyepiece view | Check the camera setup |
Repeat the successful setup once. A repeatable improvement is stronger evidence than one brief clear view.
If the problem remains, send support the model, objective markings, slide type, and test results. Include a photograph if possible. Stop if controls bind or the objective approaches the glass before focus. A useful outcome is either restored detail or a clear record of where the checks failed.
Sources
Explore Wevision microscopes
Find the right microscope for your next observation
Visit the Wevision web store to explore current microscope models for learning, laboratories, classrooms, and hands-on discovery.
Visit the Wevision web store